
Install network printer on local system
Windows XP
- Go to control panel (This link will open in a different window)
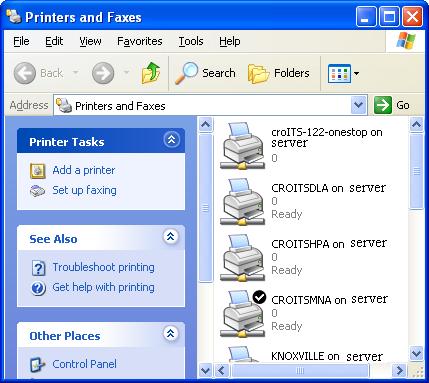
- Open up Printers
- Click Add a printer
 |
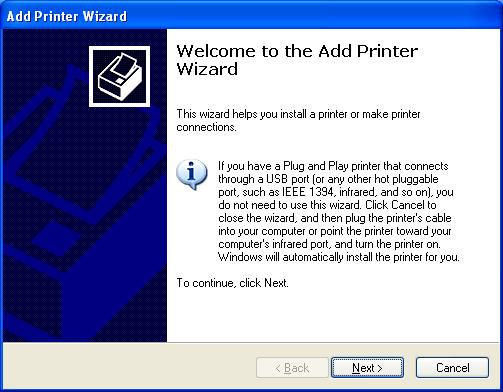
- Click Next
 |
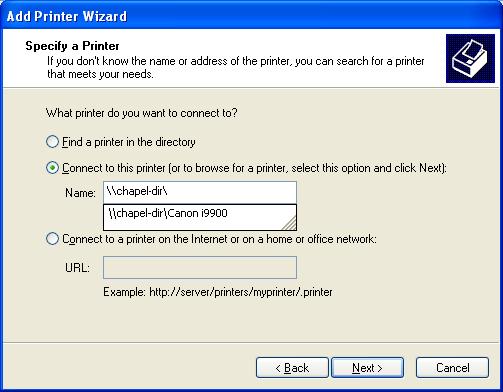
- Select A network printer, or a printer attached to another computer
-
Click Next

- Select Connect to the printer (or browse for a printer, select the option and click Next)
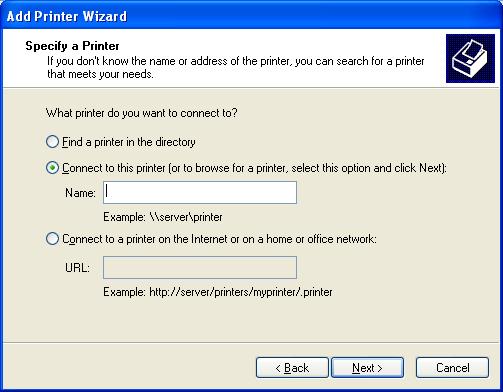 |
-
Type in the computer name of the computer the printer is actually attached to
- To find out the computer name, click here
-
For this example, the computer name is going to be johnson and the printer name is going to be HP_Laserjet_4200
- In the box there is a layout that you must follow
for it to work and the layout is as follows
-
\\computername\printer name (You must have the two slashes at the beginning and the single slash)
- In our example, you would type \\johnson\HP_Laserjet_4200
-
- In the box there is a layout that you must follow
for it to work and the layout is as follows
 |
-
Click Next
- You may or may not be asked for authorization
- If you do, type in the username and password
-
If you are asked to install a driver, click OK

- You will be asked if you want the printer to be the default.
- Say Yes or No
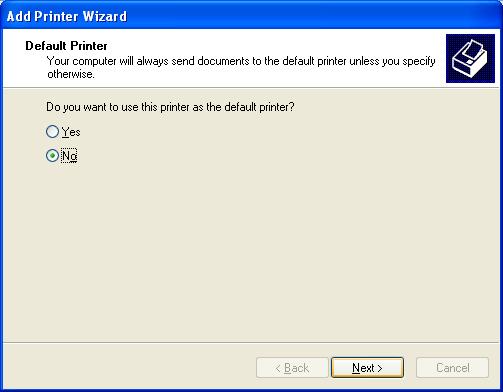 |
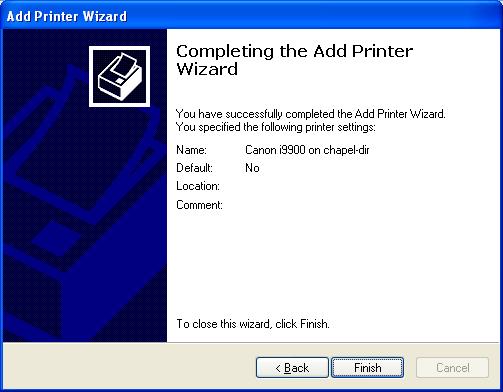
- Click Finish
 |